
Finding and sourcing images on the iPad is a slightly different.
On the iPad
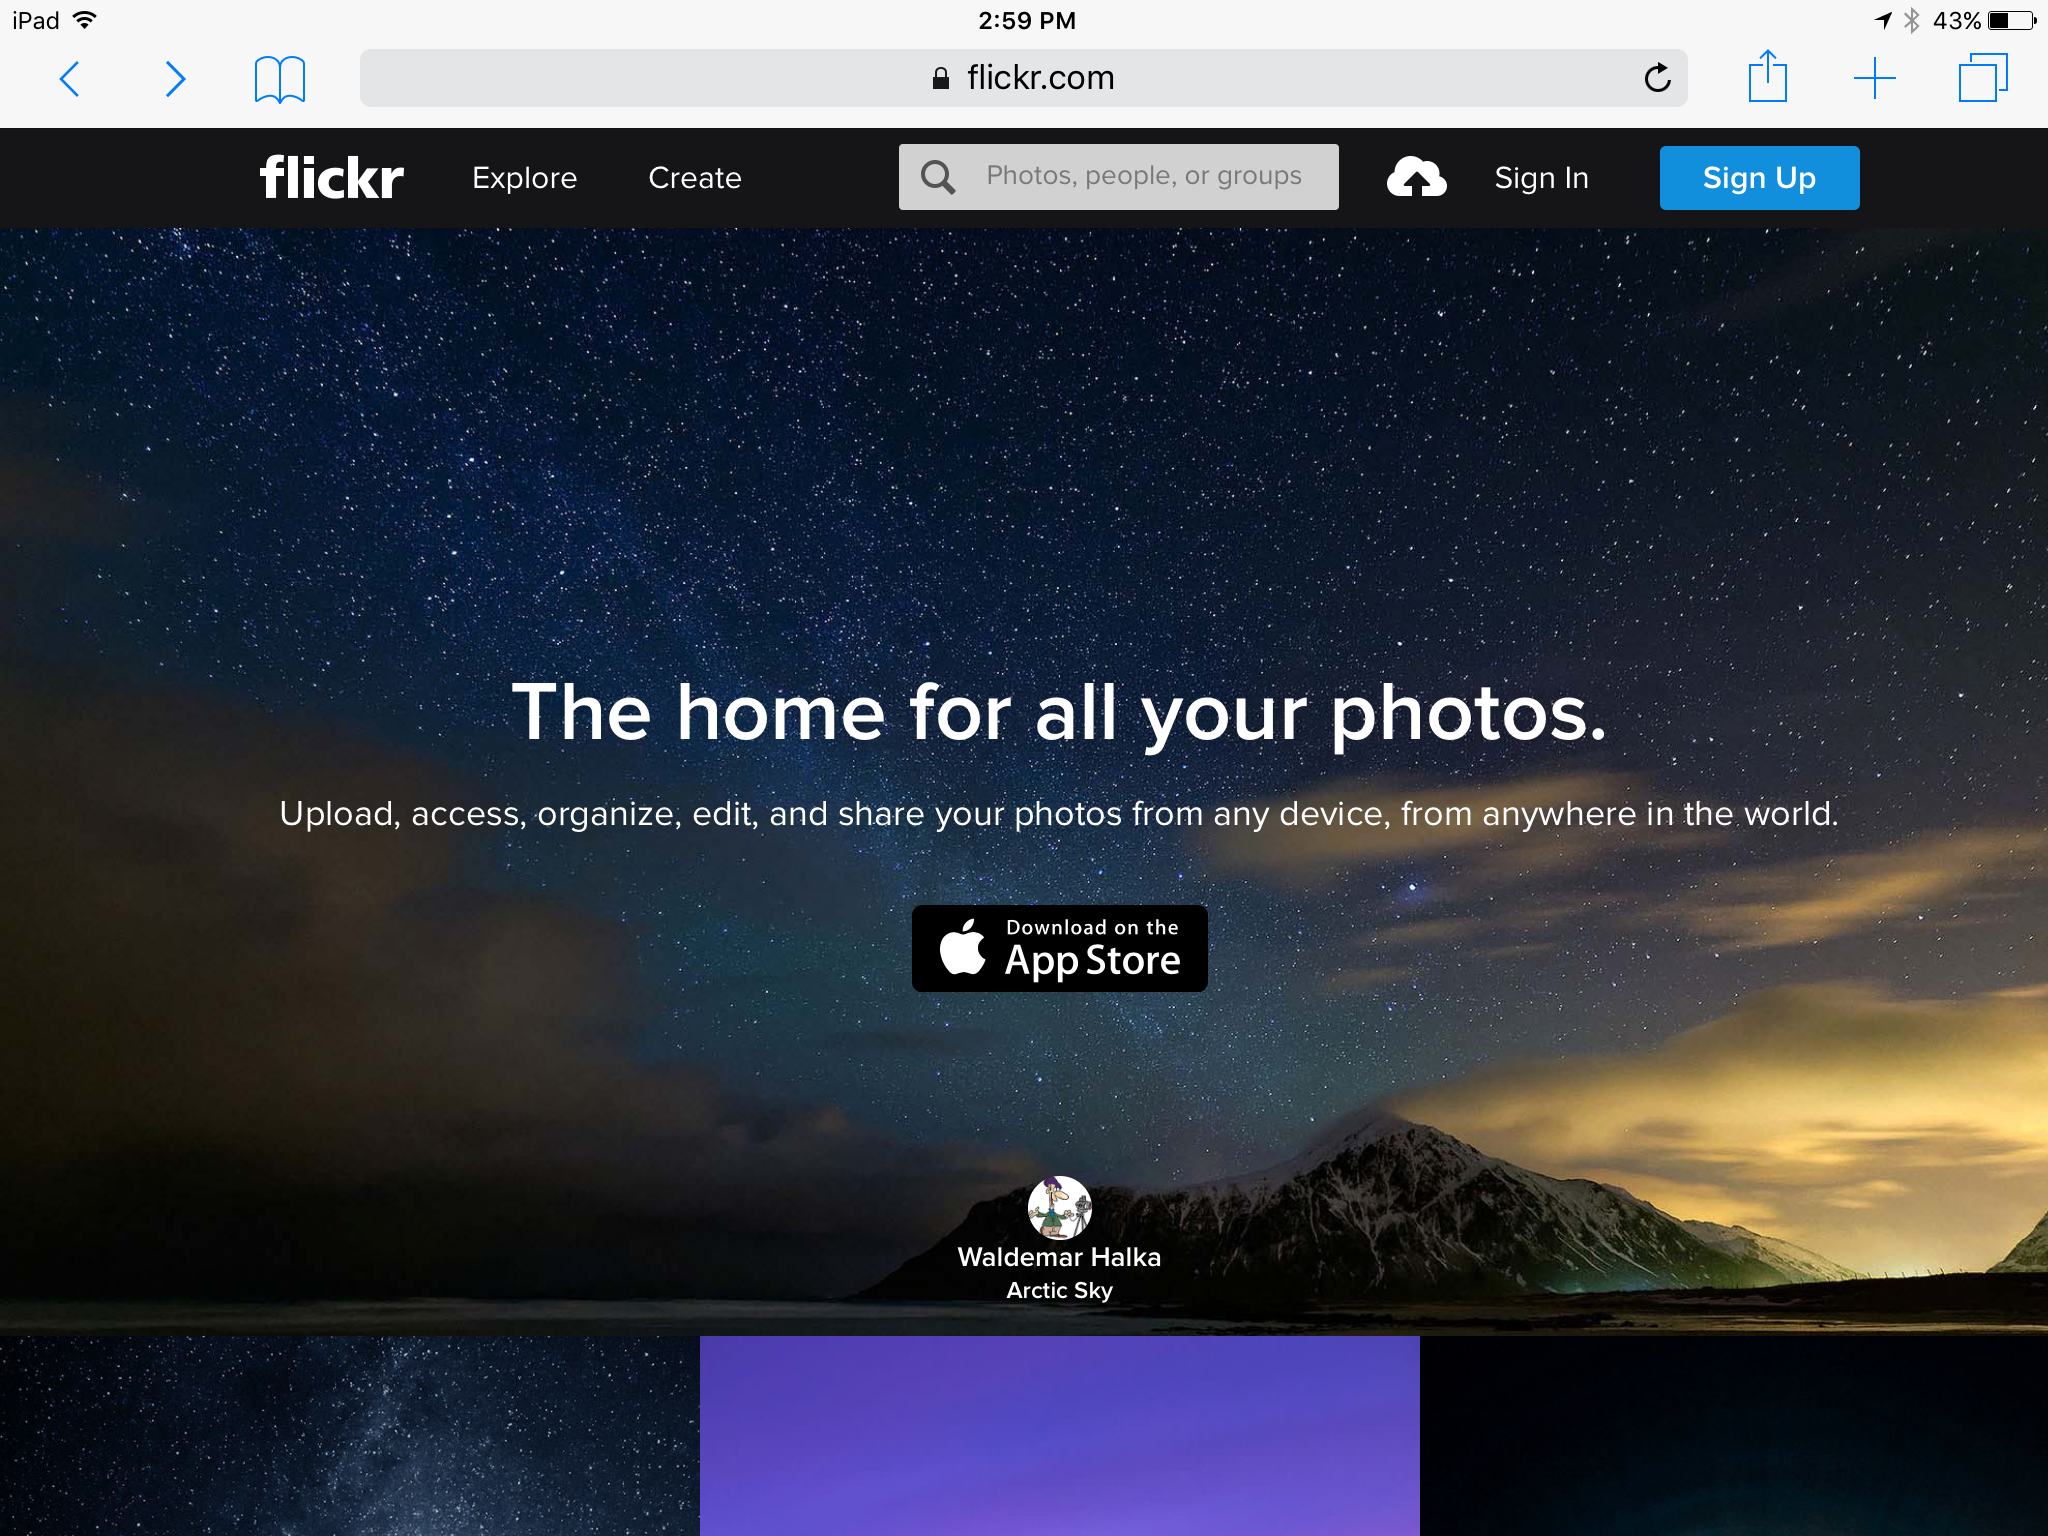
- Go to Flickr.com in Safari. There might be a pop-up at the top of the screen to install the Flickr app. You can only use this app if you have a Yahoo account. I don’t so I didn’t. For browsing and downloading images using Safari is sufficient.
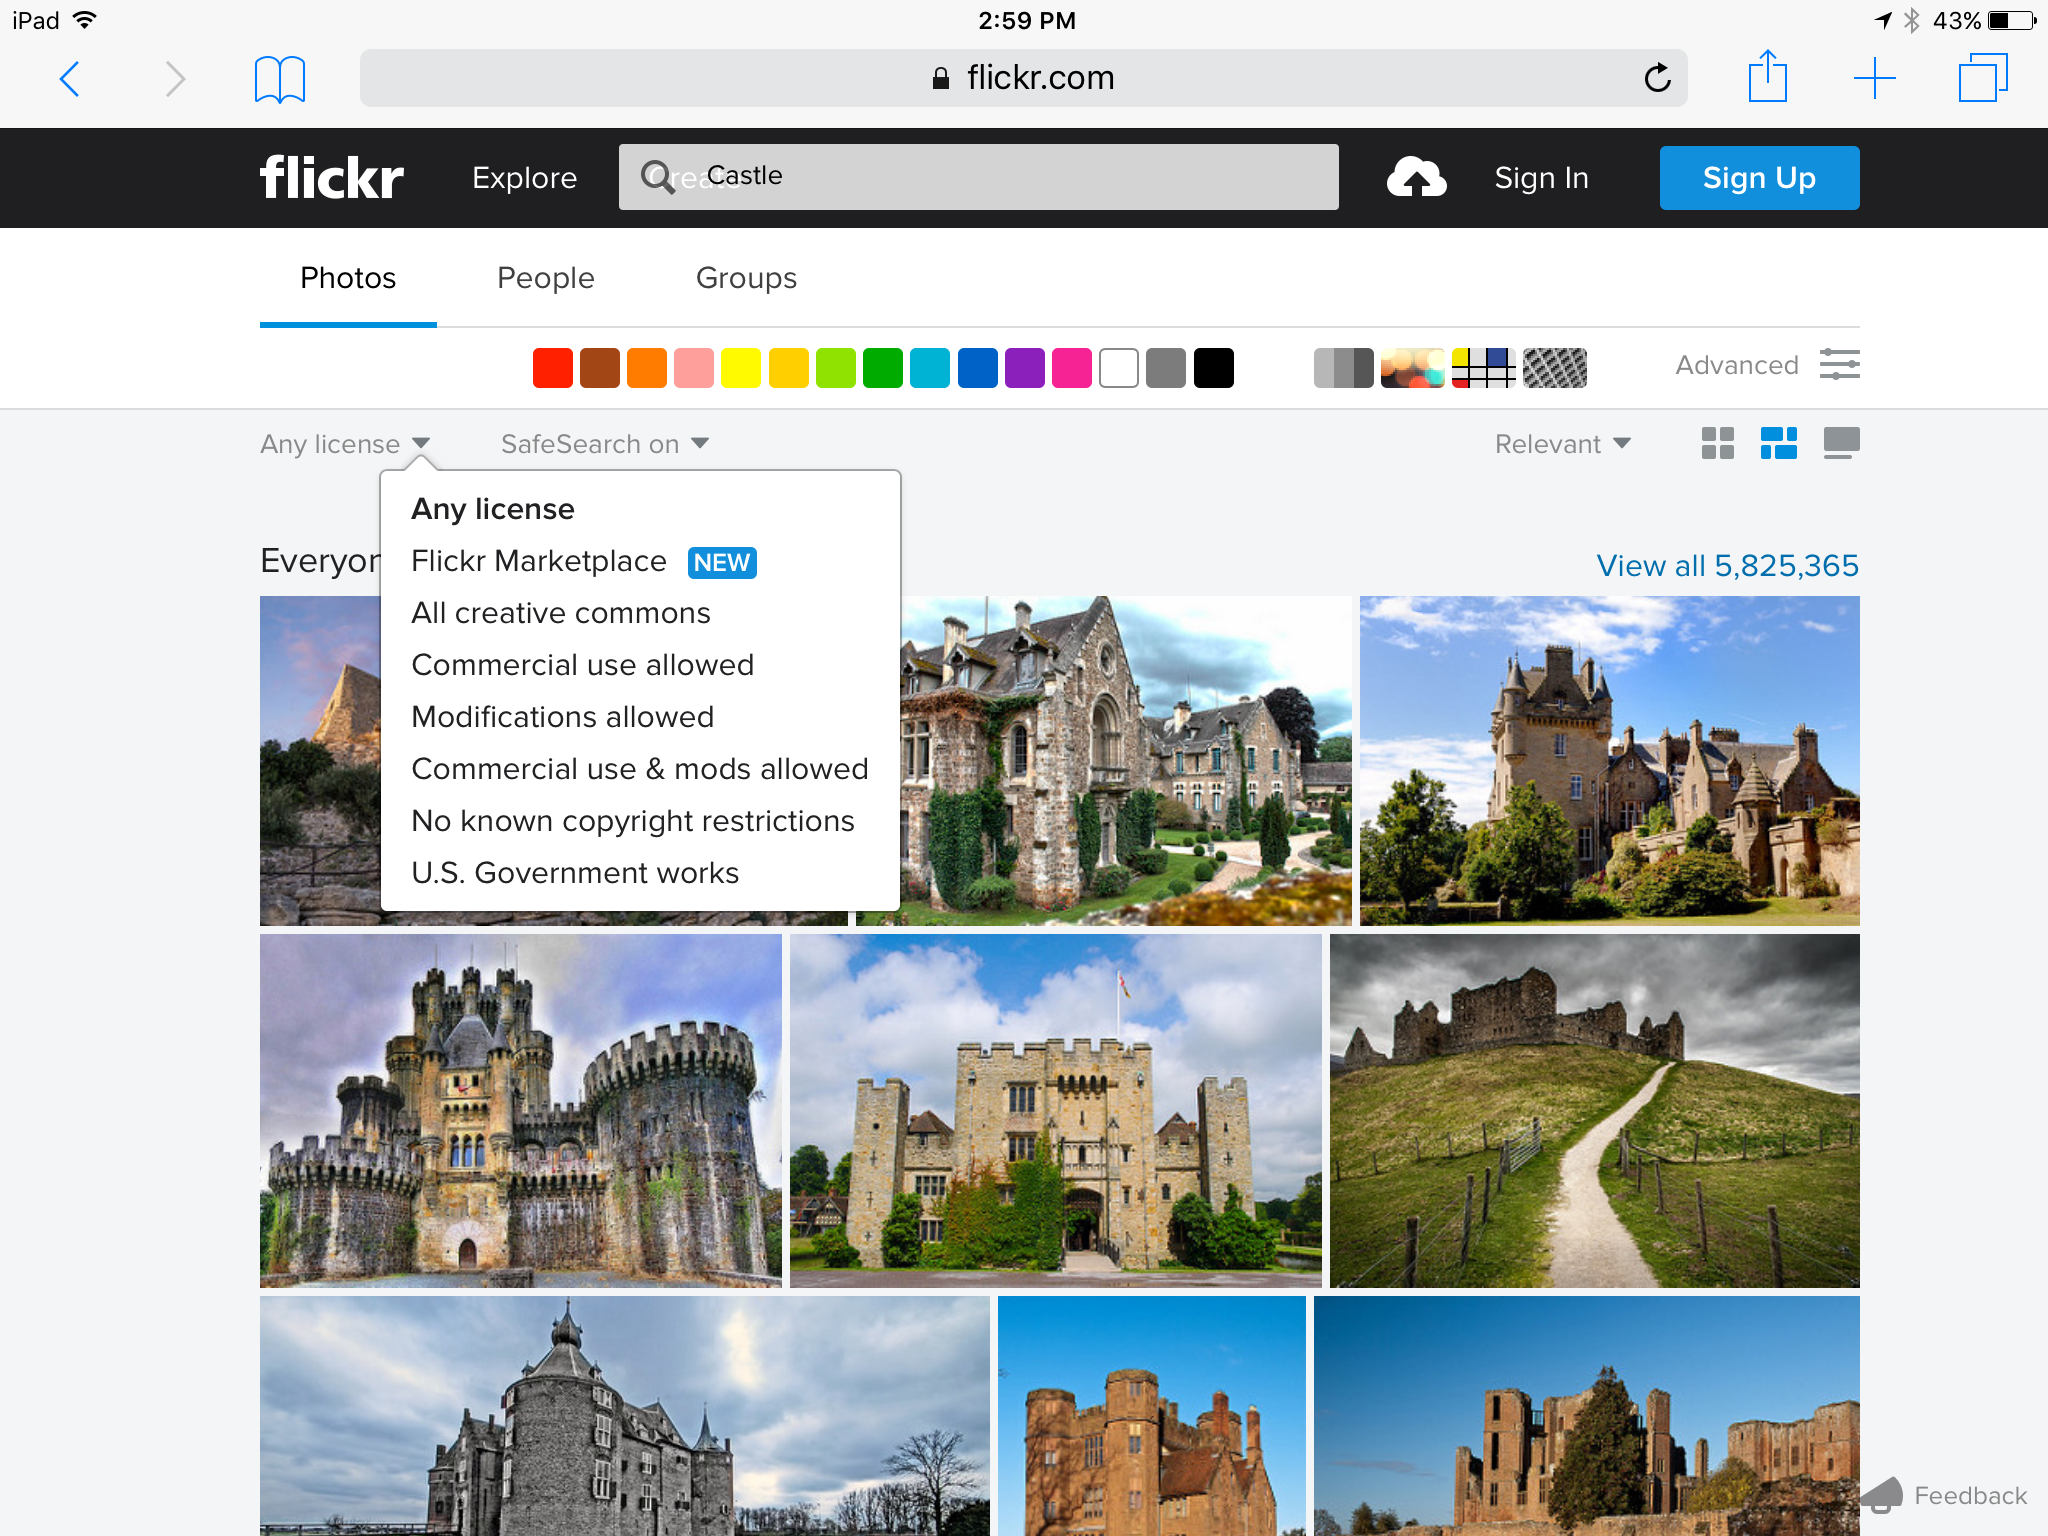
- Search using a keyword that may describe the image you would like to use. We searched for “Castle”. This will give you ALL images with that keyword – copyrighted and creative commons
- Go to the drop down menu that currently says “any license” and choose the second option, “all creative commons”.
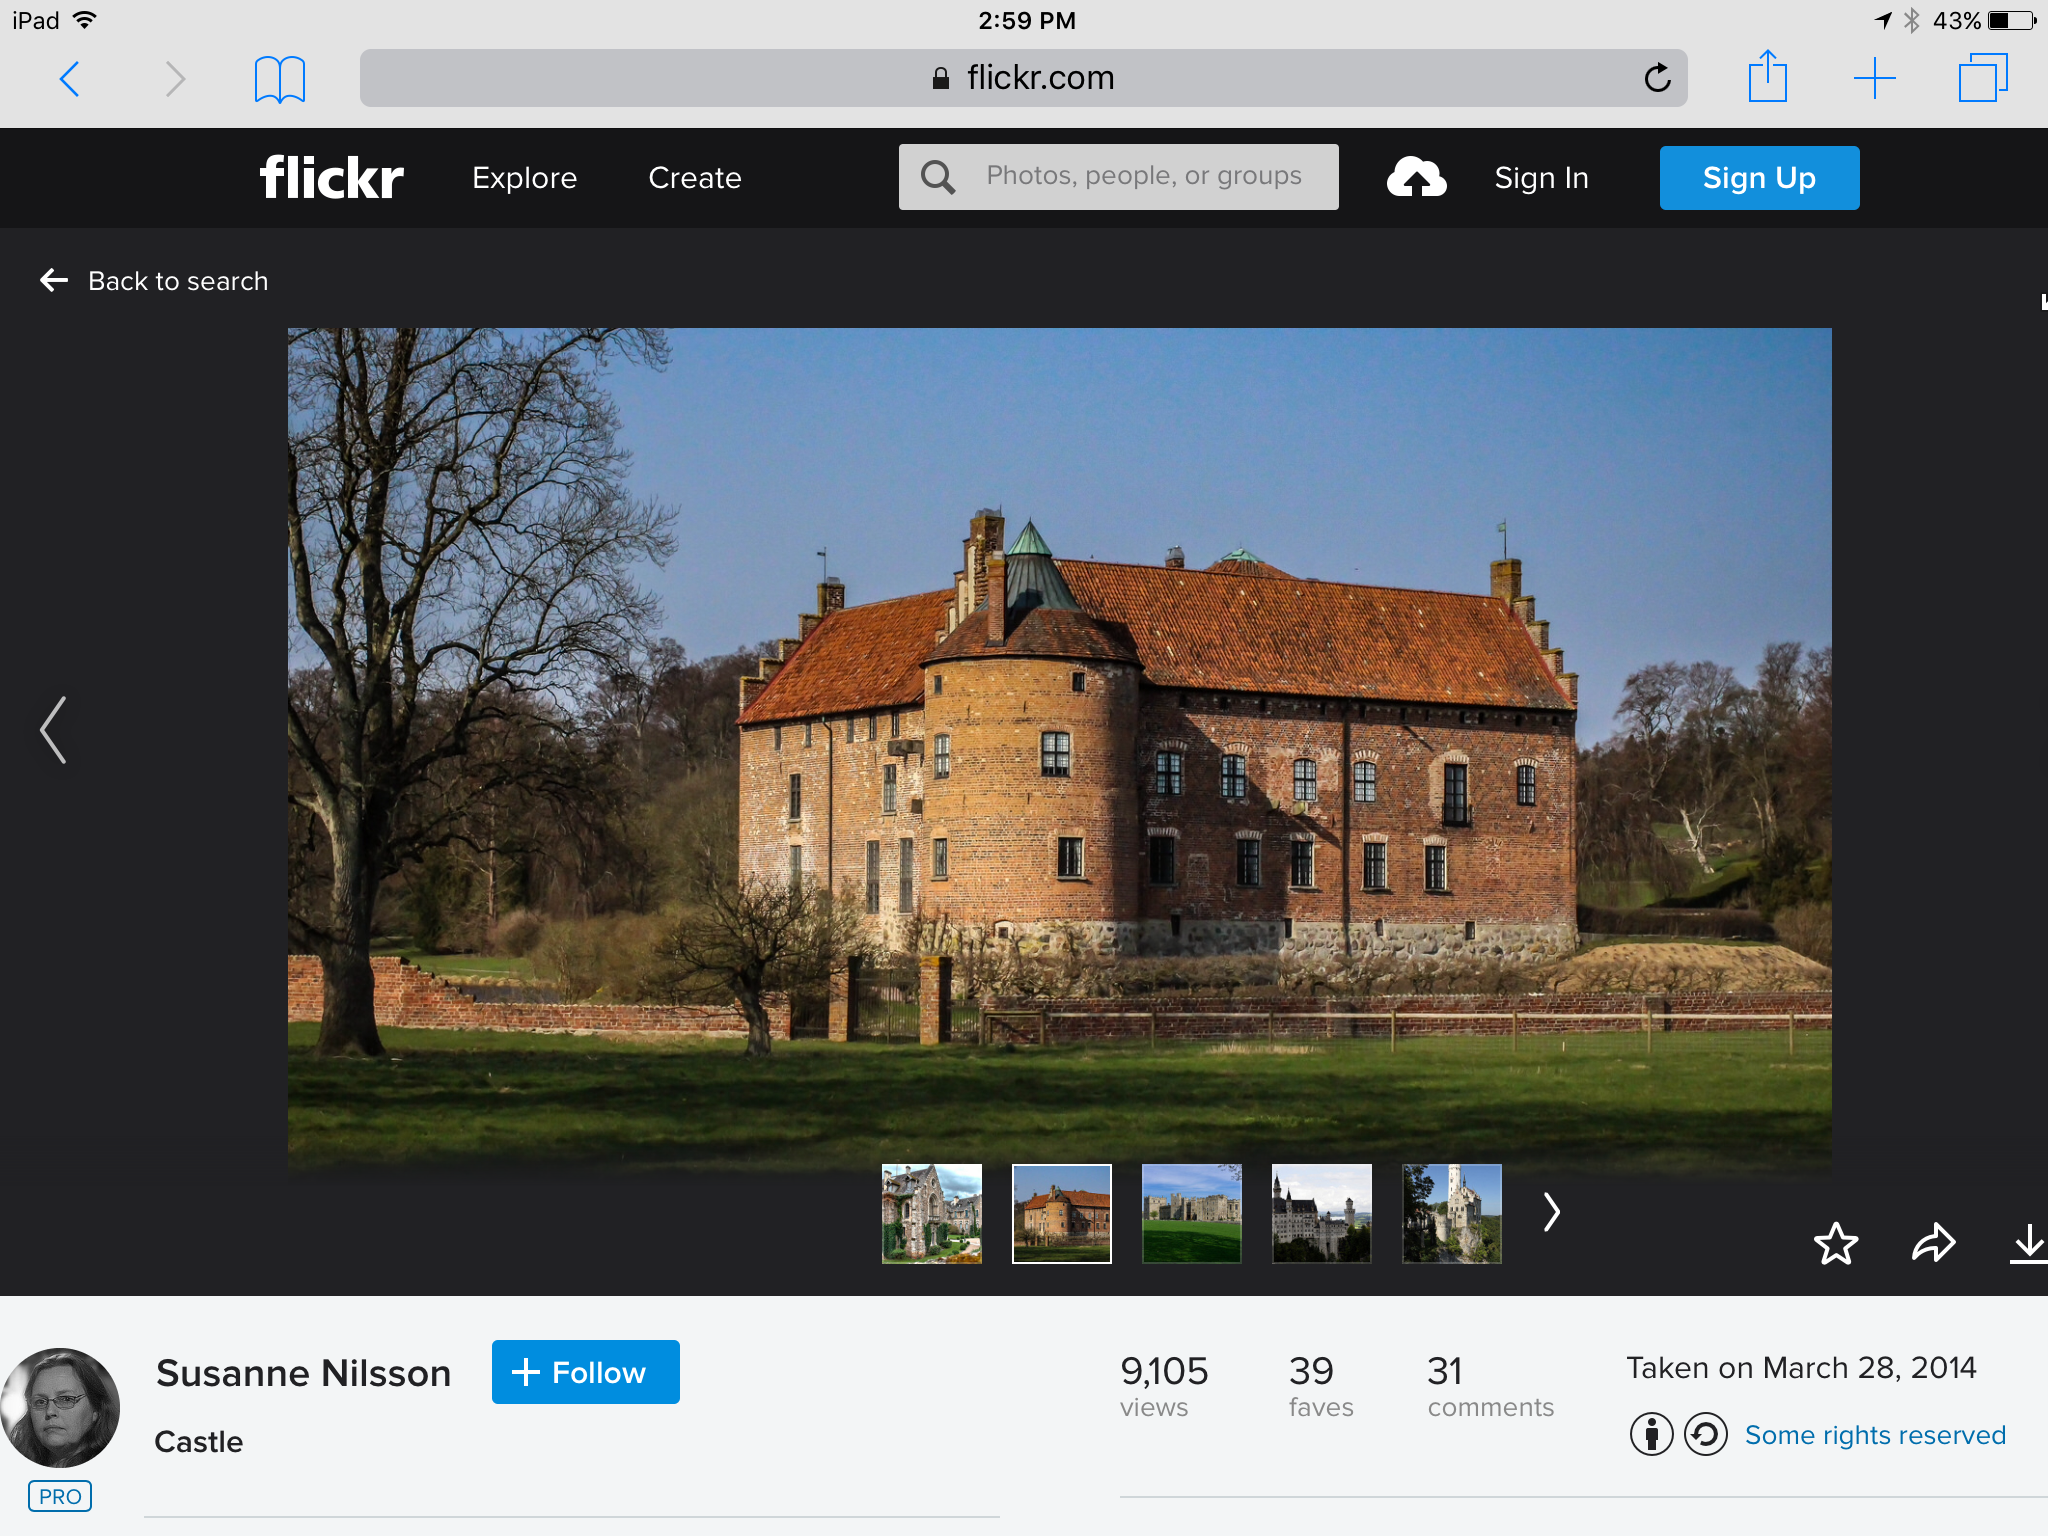
- Find an image you would like to use and select it. In the bottom left hand corner of the screen are the icons that outline the attributes of the Creative Commons license and just above it is the download symbol (a horizontal line with an arrow point down). Choose the image dimensions you need for your project.
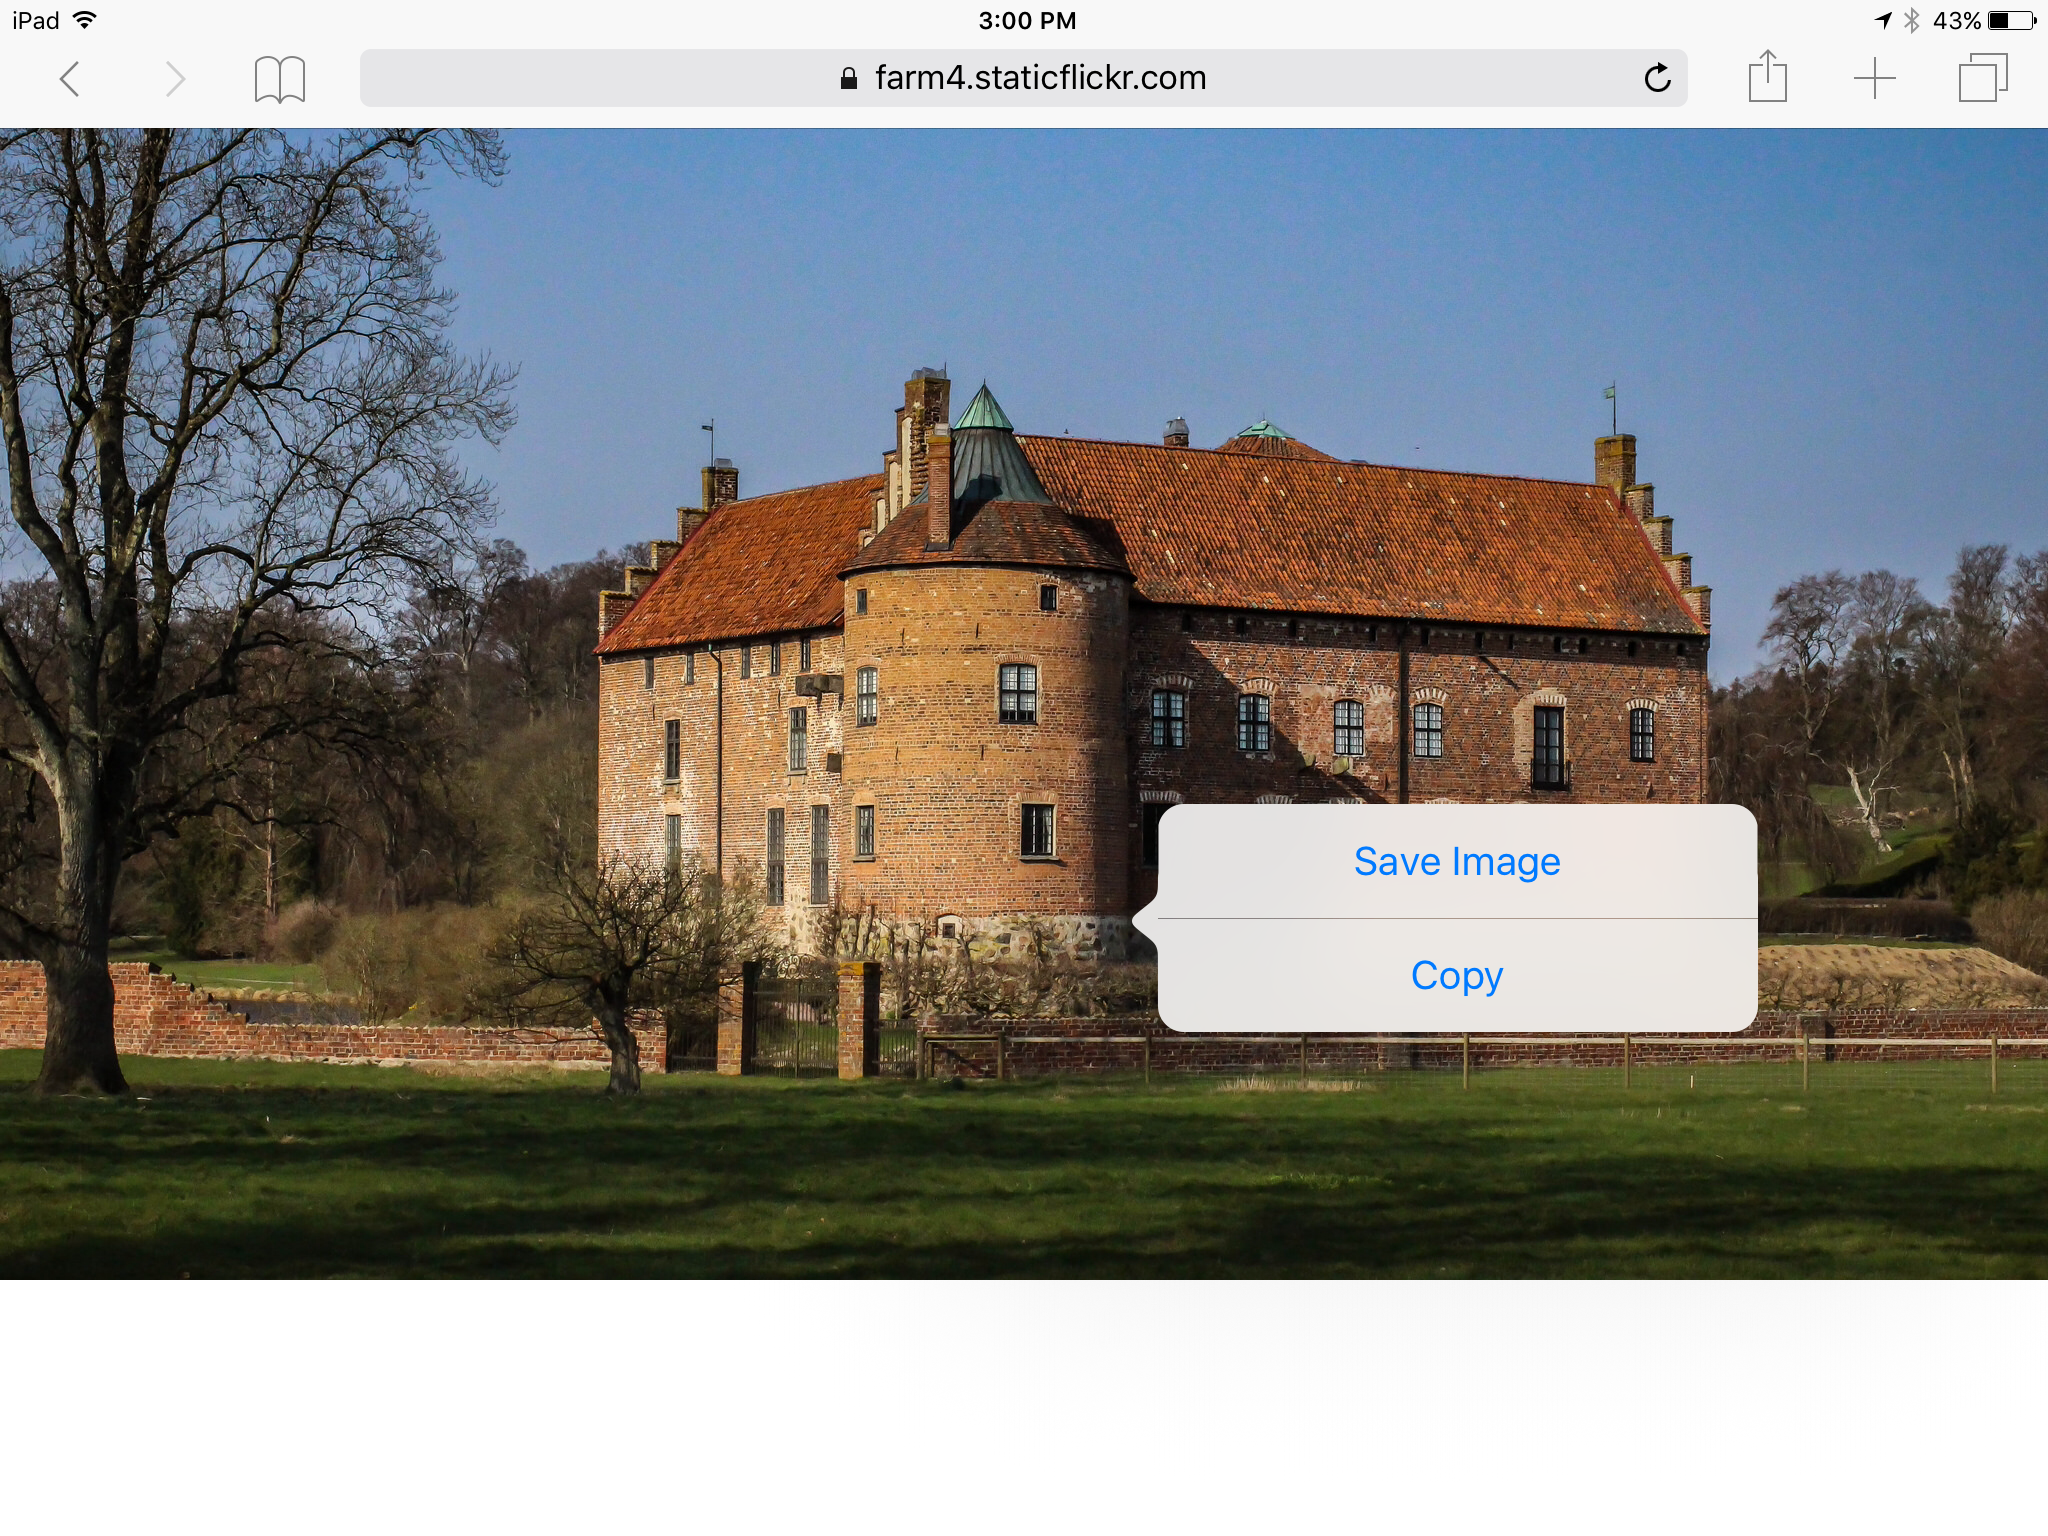
- This will open the image in the browser. Press and hold on the image and a small menu will pop up. Choose “Save Image” and this will save the image to your photos.
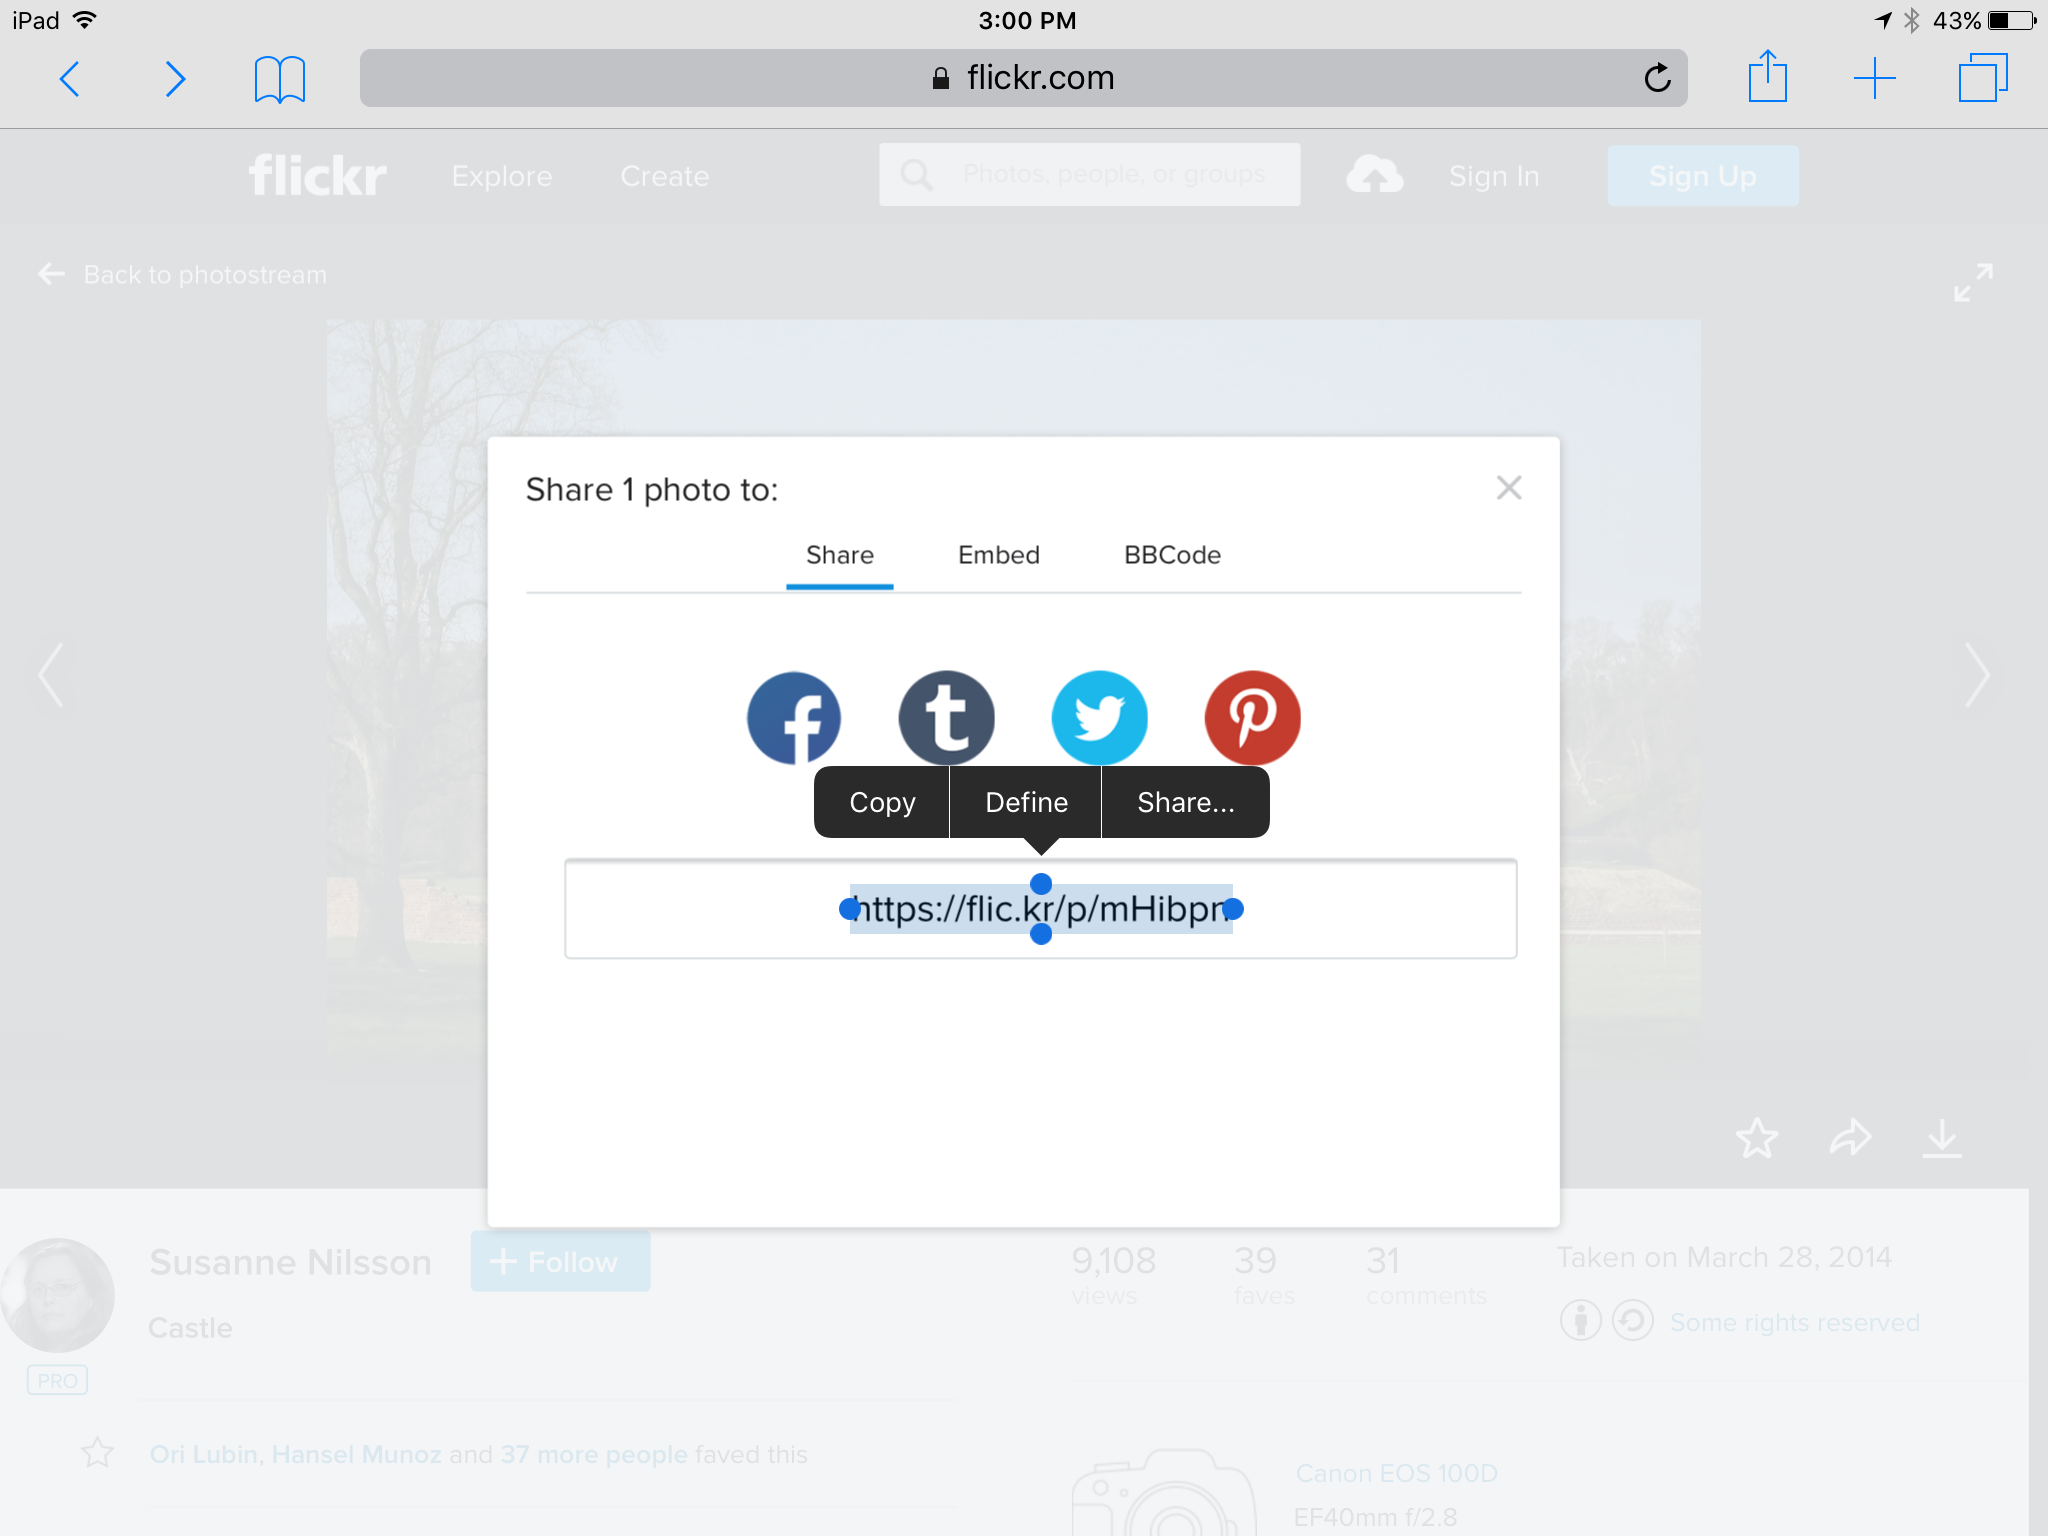
- Next thing is press the arrow symbol just to the right of the download symbol. Select and copy the text.
Now… there are few things you can do now… Create a Evernote or Pages file that has all the images you have collected the link texts. This is a bit cumbersome in my opinion. You could also write them out in order of collection but again, this is a little risky to me. My solution was this: because I save my photos to the cloud – Dropbox and Google Drive – I renamed the file with the link.
- Before anything, make sure the photos have been backed up in Drive
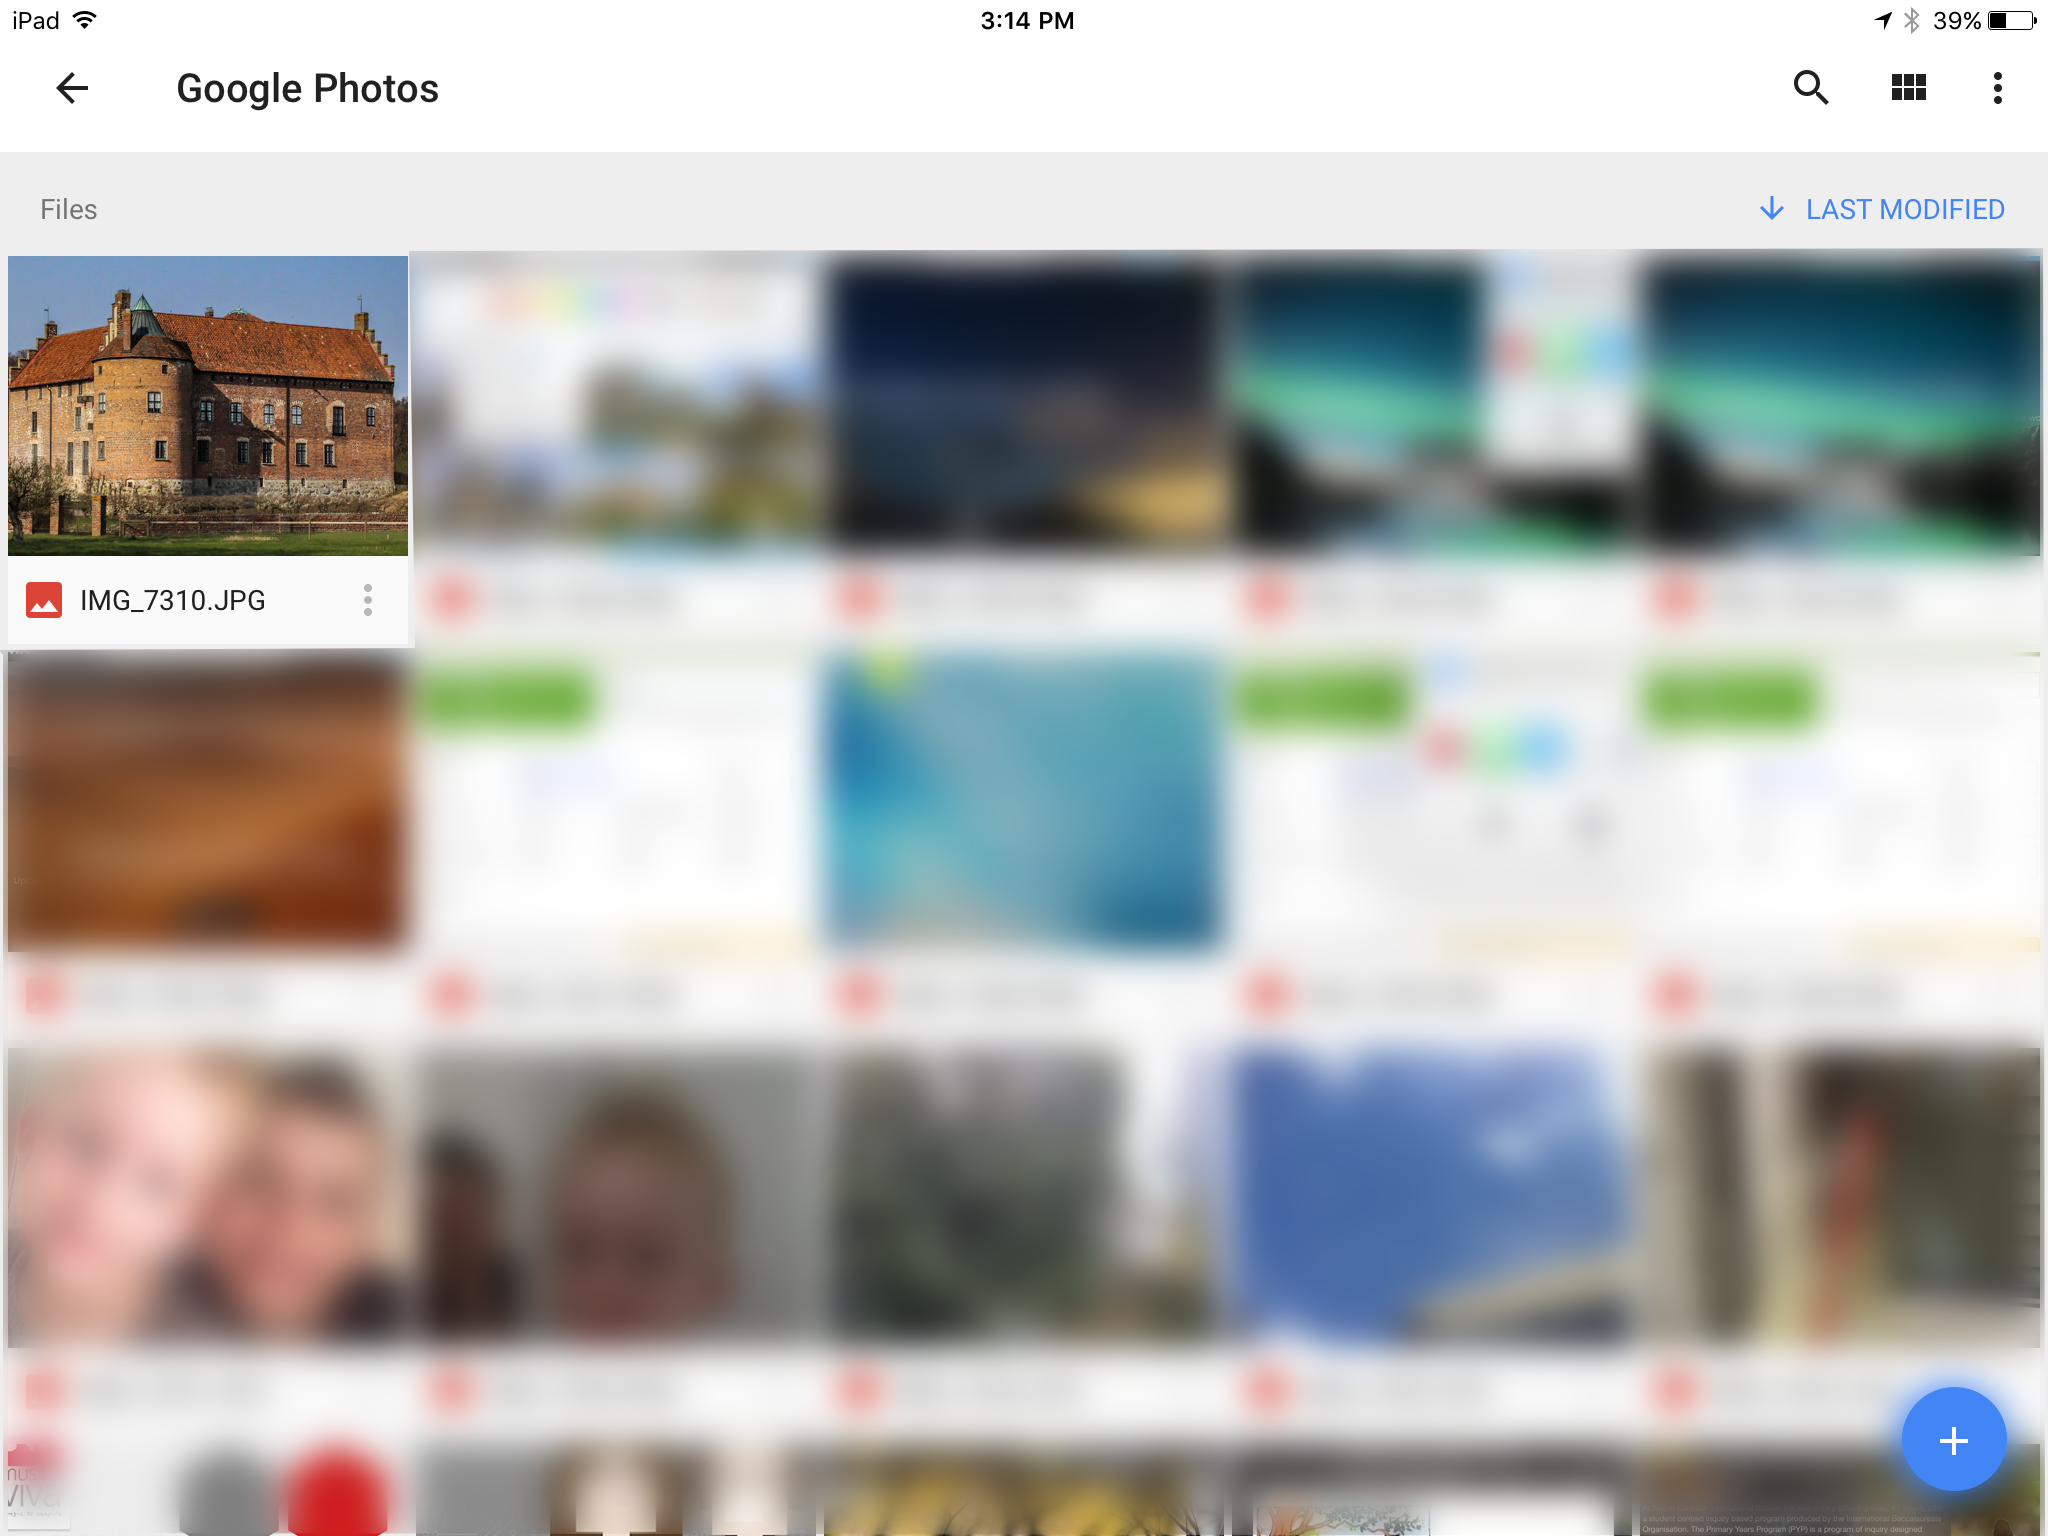
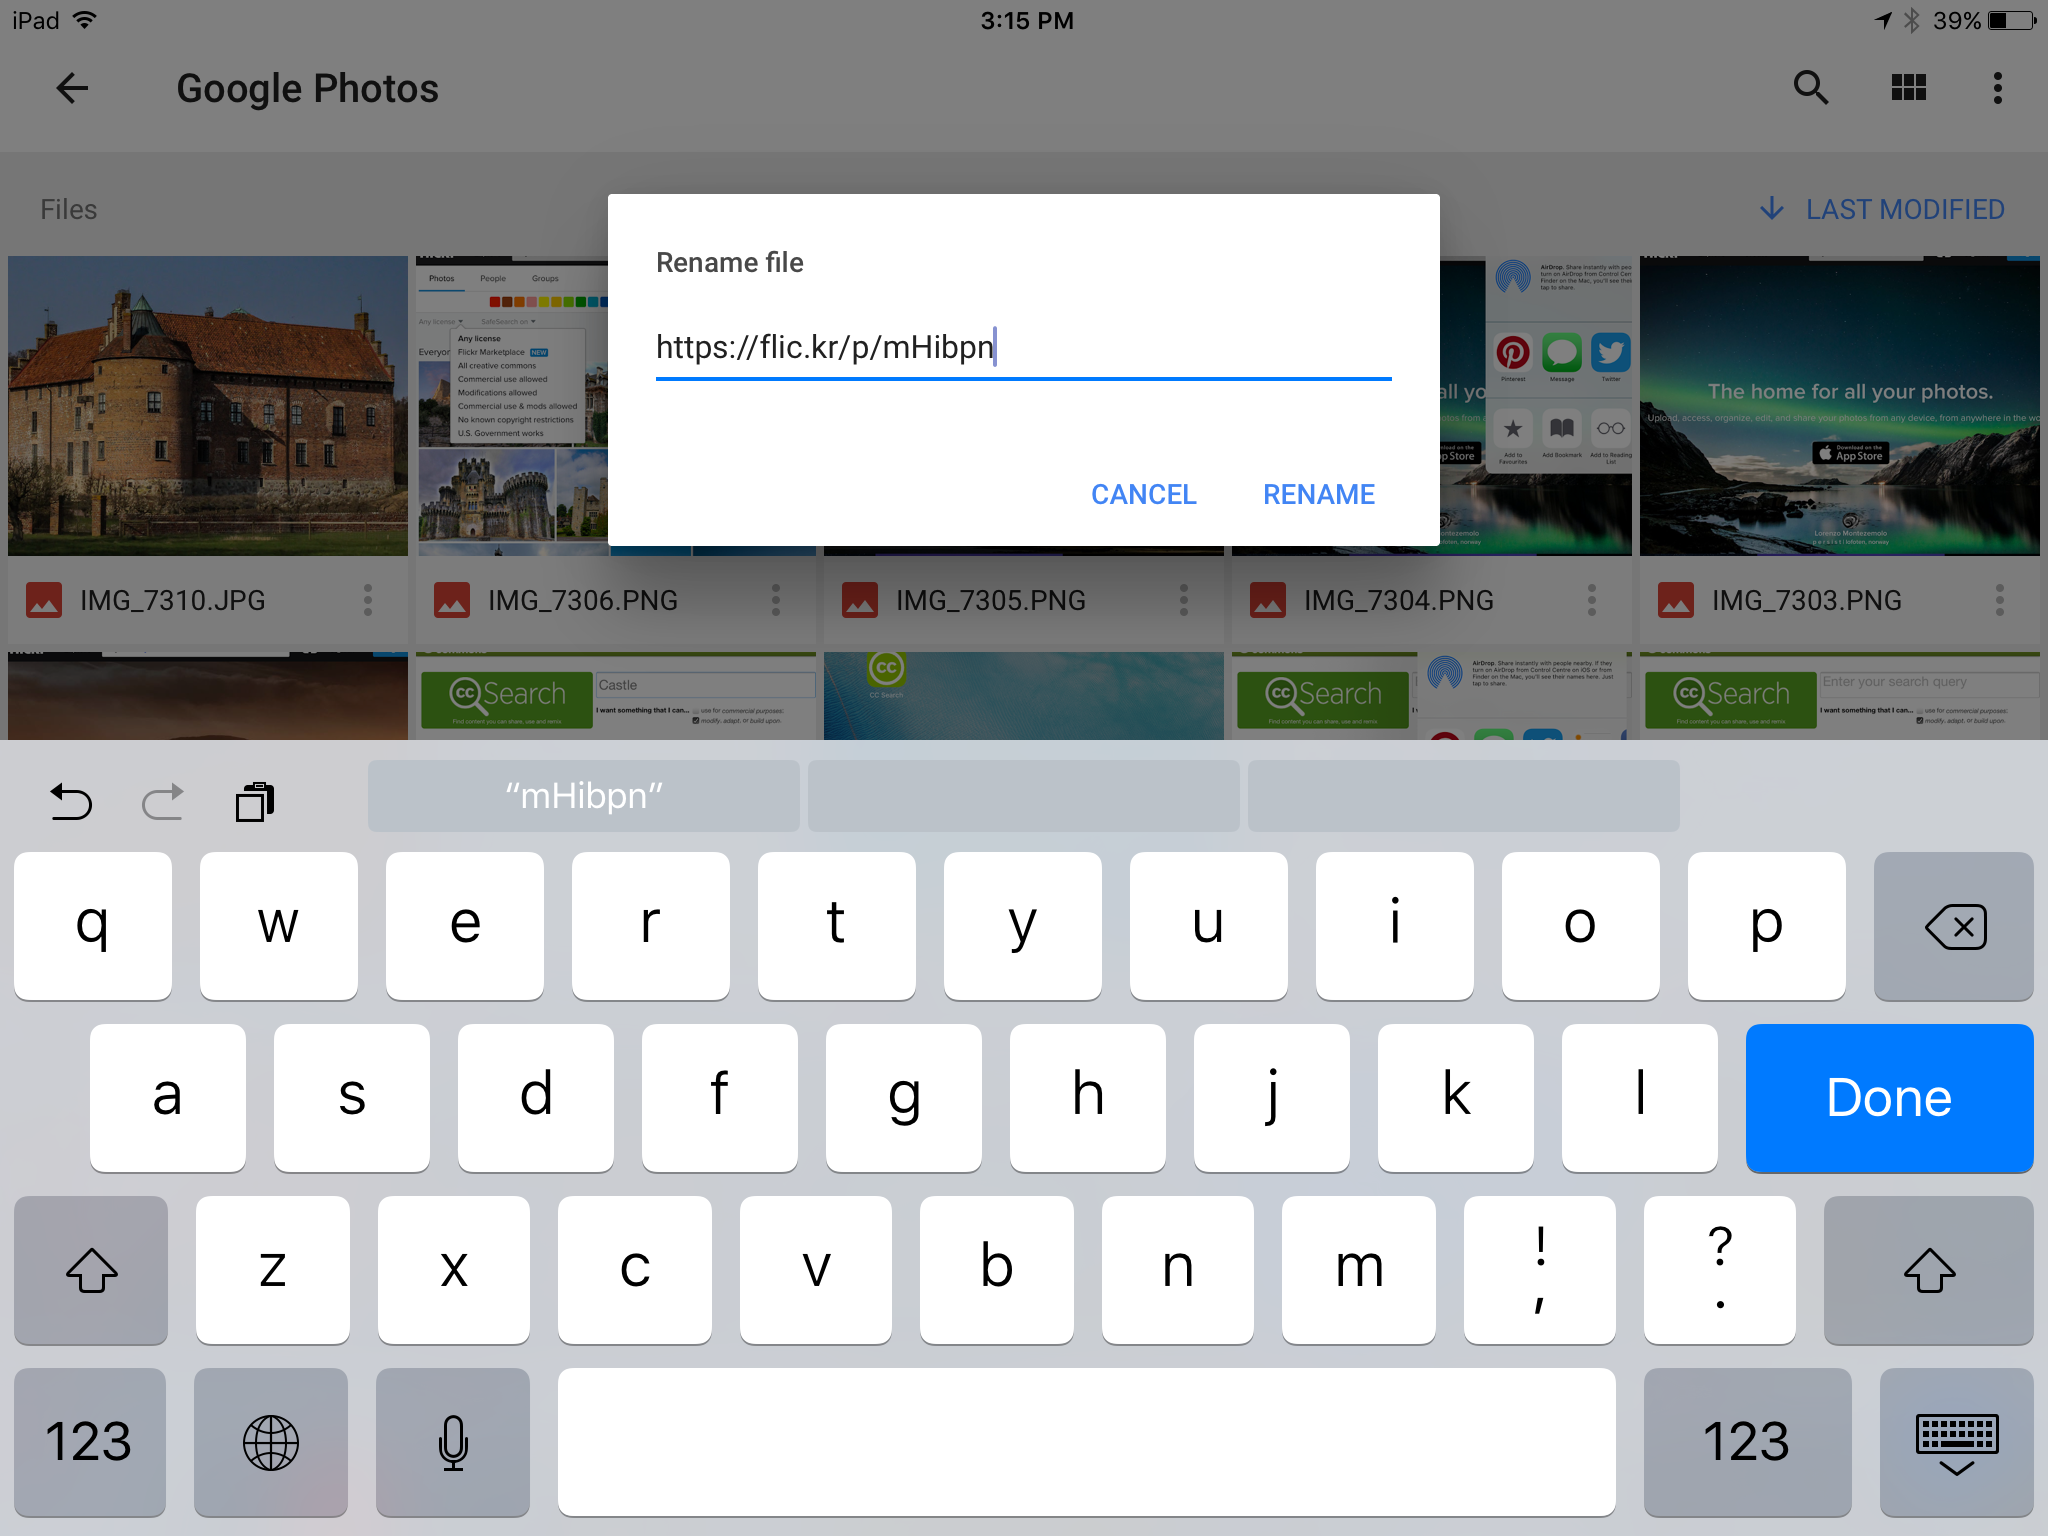
- Find the photo you just save, that then was backed up in Drive, and press the three small vertically aligned dots below that picture.
- This will bring up this menu. Select “Rename”
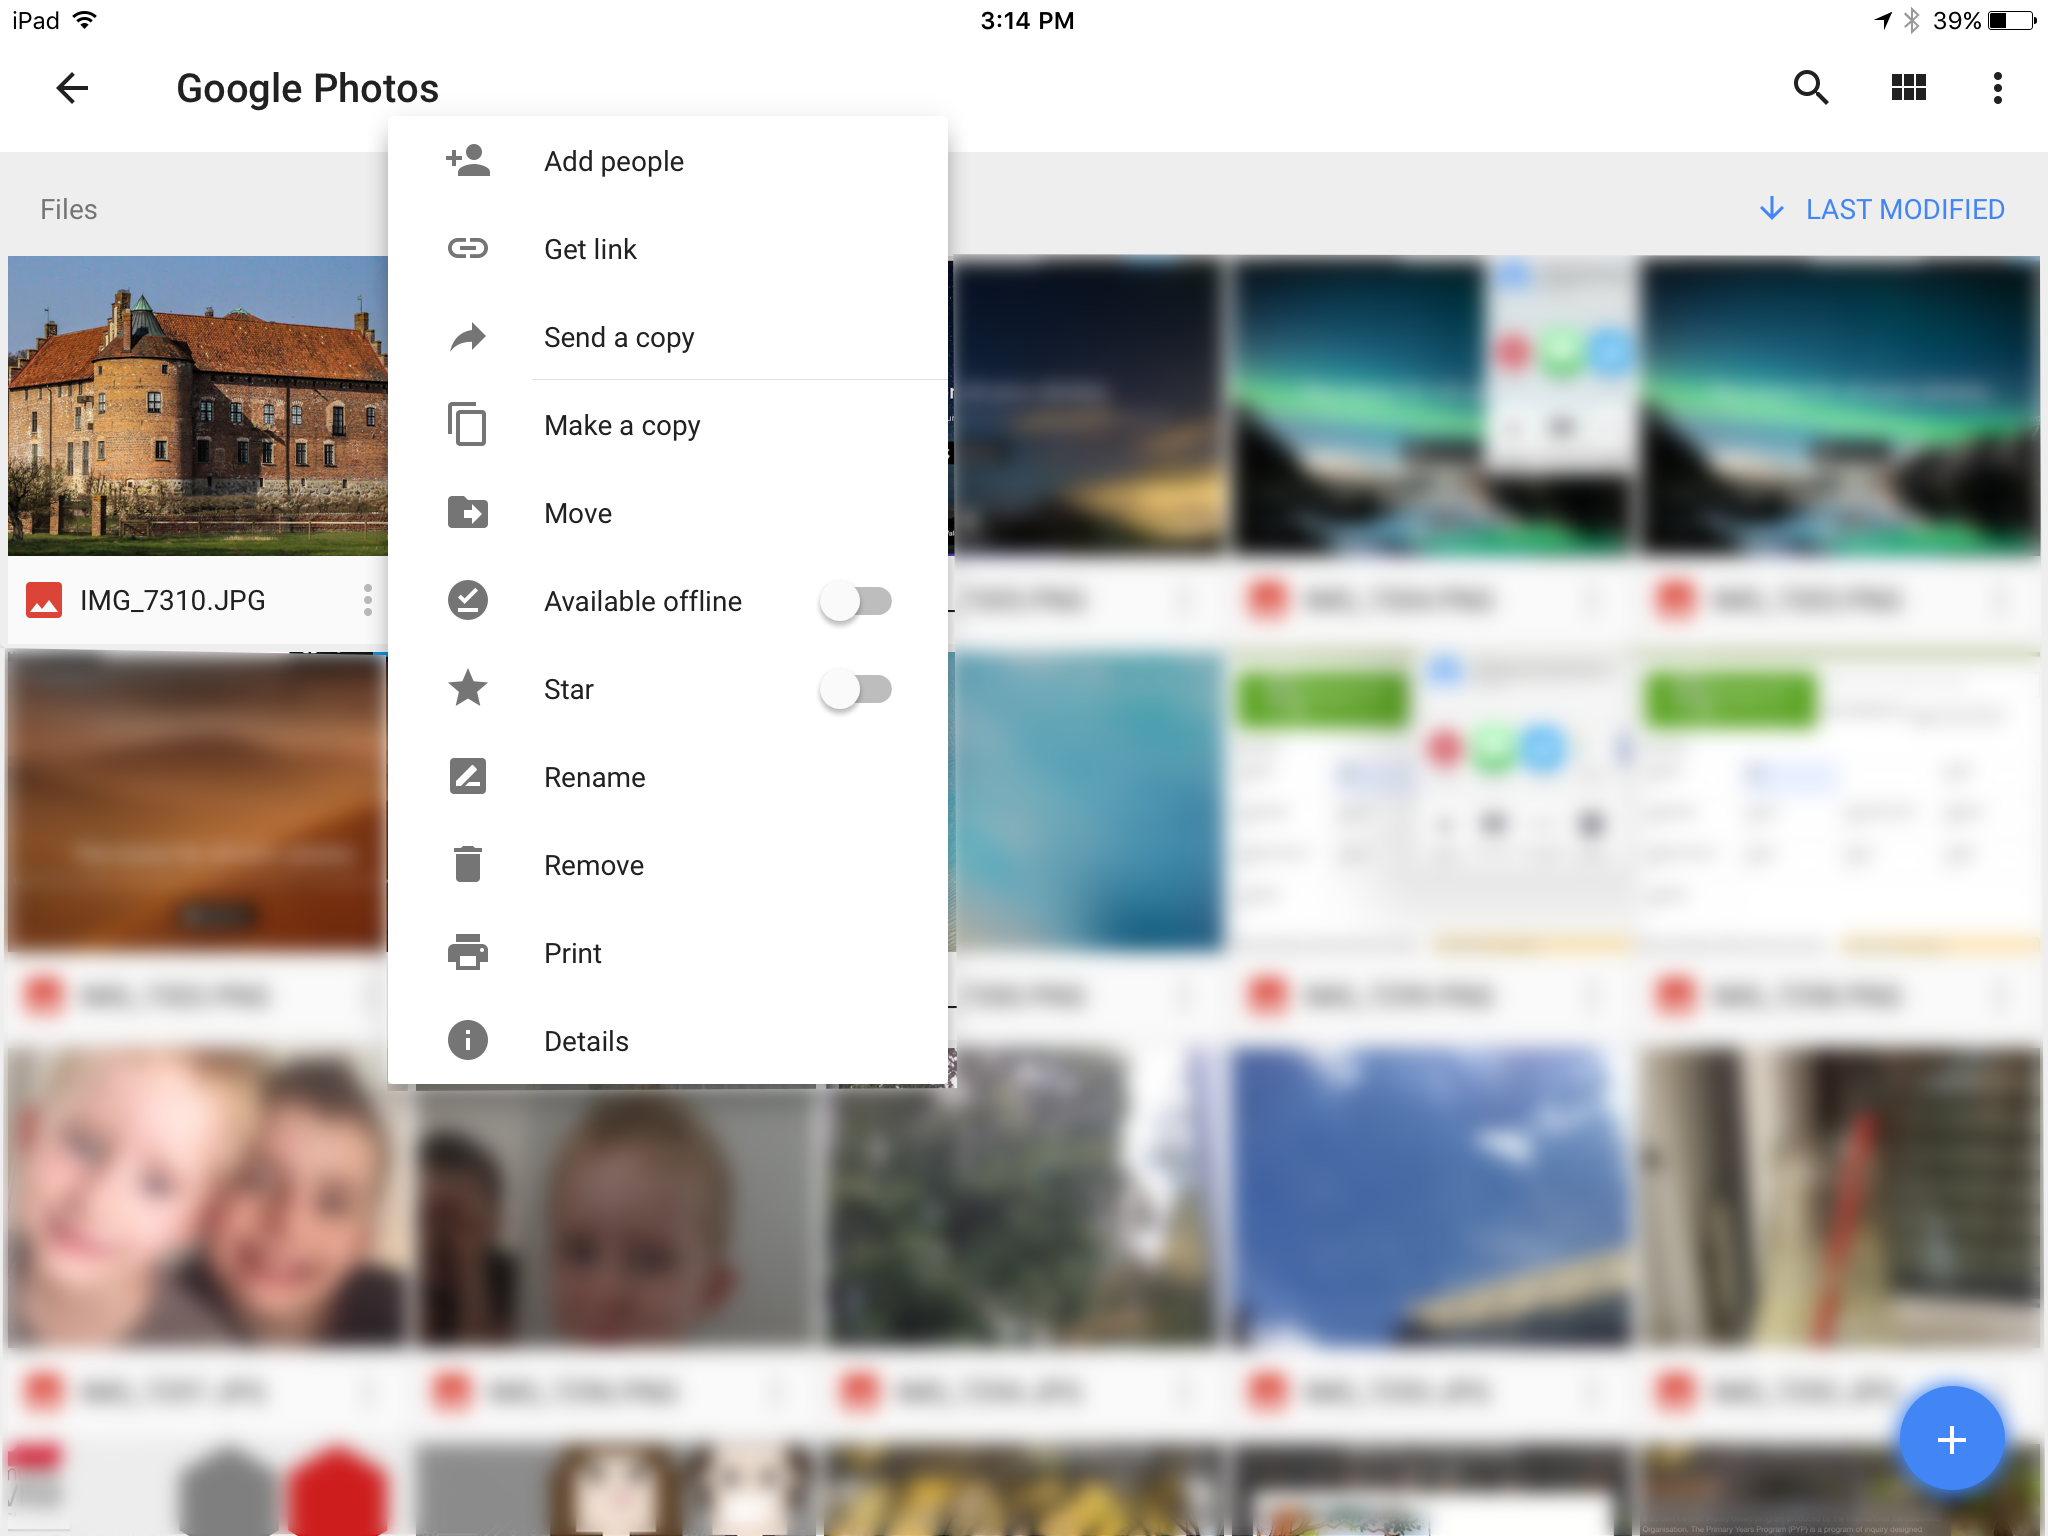
- Then paste in the link that you should still have on your clipboard
- This means you now have the file and the link for referencing purposes when you use it in a project.